Before you begin
Sign in to the correct organization and make sure this product is enabled. Creation and administration require the appropriate team role. Screens may differ with your language and permissions.
For a church with multiple locations, choose a campus in the top bar before creating a record. All permitted campuses combines only records you can access. Check the Campus field before saving; changing it transfers that record and requires access to both campuses. Policies and boards can also be church-wide.
Church owners and administrators add physical, online, or temporary campuses in Settings → Campuses. In Team & permissions, open Campus & product permissions to set each person’s campus, role, and products. A campus administrator manages records; church settings remain with church administrators and owners.
Choose a team member
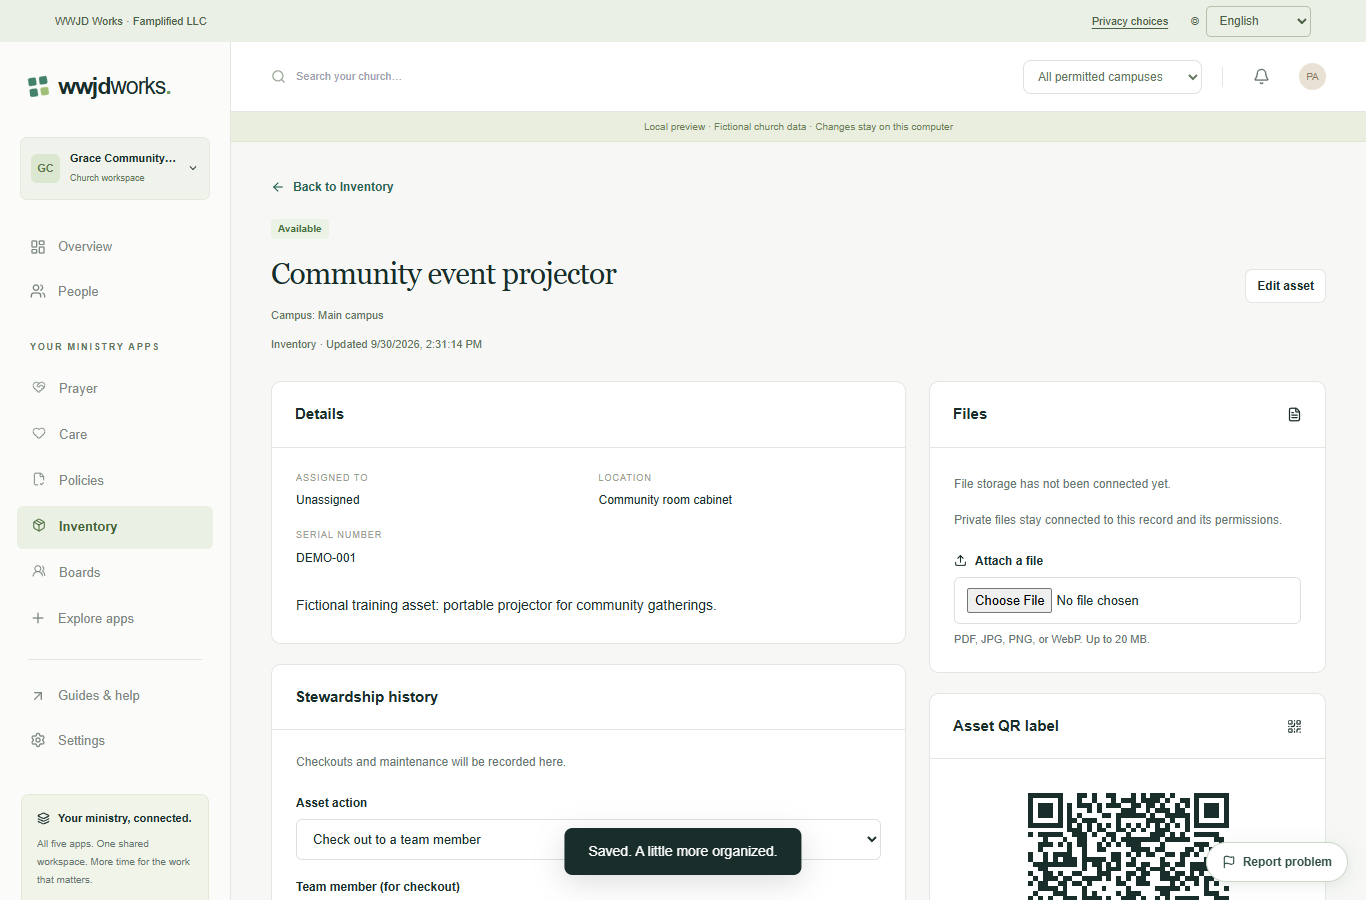
Open an available asset. Under Asset action, choose Check out to a team member and select an active team account. People directory entries are not checkout accounts. Add a useful note if needed.
Record the checkout or return
Select Record action and confirm the new status and history entry. For a checked-out asset, choose Check back in and record the return. The system prevents two simultaneous checkouts of the same available asset.
Document maintenance
For an available asset, choose Record maintenance, enter a clear note, and record the action. Review Stewardship history for prior actions. Keep instructions about repairs or suitability in the record rather than relying on the QR label alone.
If something looks different
Missing actions usually depend on your role, the record’s visibility or status, or whether the product is enabled. Ask your organization administrator before creating duplicate records or changing access.