Before you begin
Sign in to the correct organization and make sure this product is enabled. Creation and administration require the appropriate team role. Screens may differ with your language and permissions.
For a church with multiple locations, choose a campus in the top bar before creating a record. All permitted campuses combines only records you can access. Check the Campus field before saving; changing it transfers that record and requires access to both campuses. Policies and boards can also be church-wide.
Church owners and administrators add physical, online, or temporary campuses in Settings → Campuses. In Team & permissions, open Campus & product permissions to set each person’s campus, role, and products. A campus administrator manages records; church settings remain with church administrators and owners.
Start a meeting
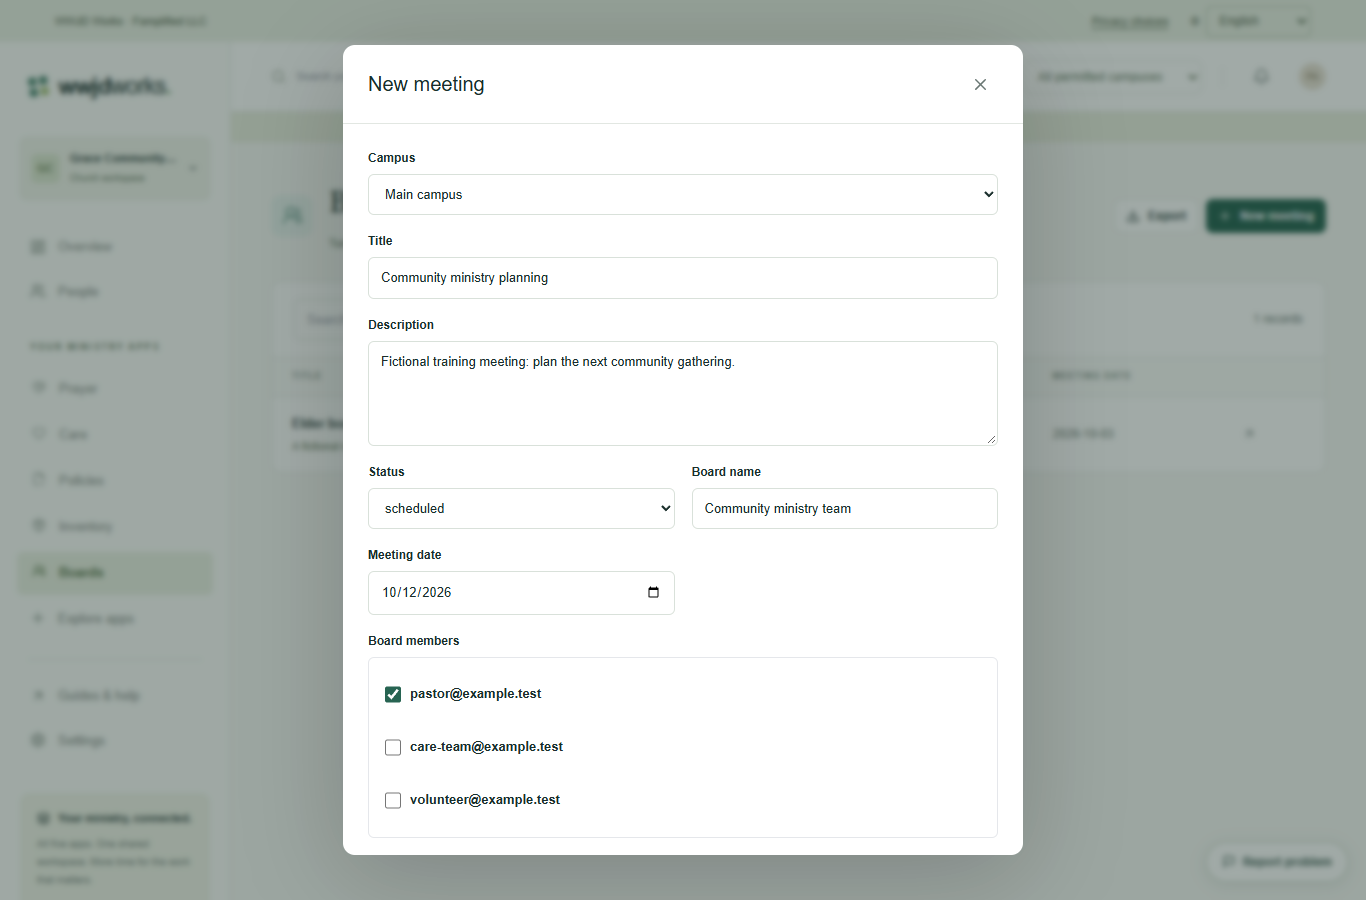
Open Boards and select New meeting. Enter a specific title and description. Use Board name to identify the group and Meeting date for the planned date. Keep Status scheduled while preparing.
Select members and add the agenda
Choose Board members from active team accounts and enter the agenda. Include everyone who should participate in voting. Being an administrator alone does not make someone a voting member of the meeting.
Save the shared meeting record
Select Create meeting, then open the meeting title. Review members, agenda, and date. Add minutes as the work develops and use follow-up tasks to record what should happen after the meeting.
Schedule a meeting and prepare its agenda
Silent walkthrough with captions in English, Spanish, and Brazilian Portuguese. The example workspace is fictional.
Written walkthrough and transcript
- Start a meeting
Open Boards and select New meeting. Enter a specific title and description. Use Board name to identify the group and Meeting date for the planned date. Keep Status scheduled while preparing.
- Select members and add the agenda
Choose Board members from active team accounts and enter the agenda. Include everyone who should participate in voting. Being an administrator alone does not make someone a voting member of the meeting.
- Save the shared meeting record
Select Create meeting, then open the meeting title. Review members, agenda, and date. Add minutes as the work develops and use follow-up tasks to record what should happen after the meeting.
If something looks different
Missing actions usually depend on your role, the record’s visibility or status, or whether the product is enabled. Ask your organization administrator before creating duplicate records or changing access.